Sites@Duke Express: Creating a non-course site
The instructions below are designed for faculty, students and staff creating a site for non-course use. To create a site for an official Duke curriculum course, follow these instructions.
Attention: Sites@Duke is not approved for storage of sensitive or restricted data as classified by https://security.duke.edu/policies/data-classification-standard. To review approved sensitive data storage options, please reference https://oit.duke.edu/help/articles/comparison-document-management-collaboration-tools
Step 1: Request a site
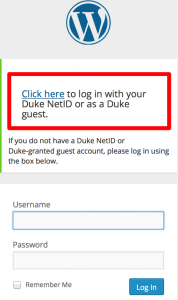
Click on the site request link and log in using your Duke NetID. Individuals who do not have a Duke NetID with faculty, student or staff status will not be able to request a site.

Step 2: Type in the short site name and a short site title
For both of these items, please choose an appropriate short name for the web site address (URL) and for the title of the site that will appear at the top of the browser window.
Step 3: Read the Terms and Conditions
By setting up a site, you are indicating that you are aware of and agree to the Terms and Conditions of the Duke WordPress service. You can refer to a copy of this any time on our Policies page.
Step 4. Click on Create Site
Once you click on Create Site, your new site will be created immediately. You will be taken directly to the placeholder home page for that, and then you can follow the steps in Getting Started to change the design and functionality of your new space.

Finding your site after you’ve created it
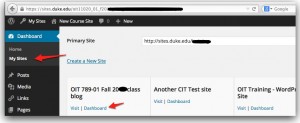
If you have more than one WordPress site on the system, you can choose ‘My Sites Enhanced’ under the Dashboard tab to find a list of all available sites. Choose Visit to view your site, or Dashboard to start creating and editing.

NOTICE: Your site will be up for expiration 2 years after its creation date. You will begin receiving email notifications 21 days before the site is automatically deleted. Please see this KB Article for renewing your site.
Article number: KB0025628
Valid to: November 19, 2025