Sites@Duke Express: Logging in
To access your site, log in through the main Sites@Duke Website (https://sites.duke.edu) and click the LOGIN button. This will redirect you to a login screen that looks like this:
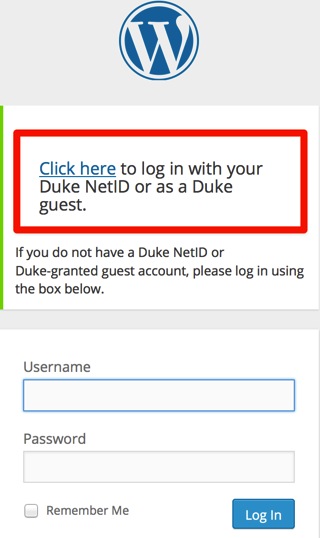
NOTE: WordPress sites have two URLs. One is the published URL (which looks like this: http://sites.duke.edu/yoursite), and the other is the URL to your site’s Dashboard, where you can create and edit content. This URL is http://sites.duke.edu/yoursite/wp-admin (again, replacing the words ‘yoursite ‘ with your site’s info).
Dashboard
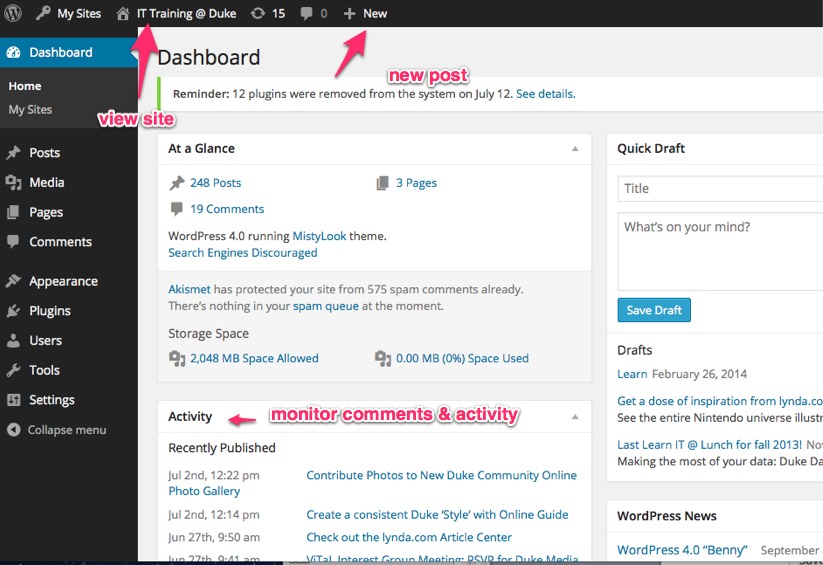
The first thing you’ll see when you log into your site is the “Dashboard.” The Dashboard provides access to all the administrative options and features in Sites@Duke. This is also where you’ll add content (by adding pages, creating posts, etc).
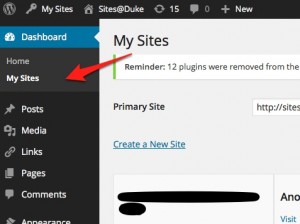
Quick Tip: If you have more than one site, you can find a list of any of them by clicking/expanding the Dashboard section and clicking on ‘My Sites’. See image below:
The Dashboard is the “backend” to your site. One approach to editing with Sites@Duke is to log into your Dashboard, and then open a new tab in your browser with your site’s “frontend.” This way you can create and edit content in the Dashboard and then switch to your published site to see your changes.
Privacy Settings
You can limit the access of your entire site or even control just the visibility of a page or post.
To control the visibility of your entire site, go to the Dashboard > Settings > Writing > Site Visibility. You can limit the site to Admins only, to registered users of your site, or to registered users of this network (i.e. anyone with a valid Duke login). If you are creating a subsite for an academic course, this list will automatically be students in your course.
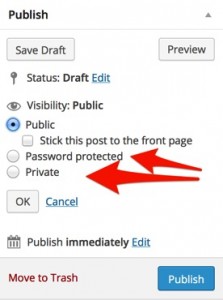
To password-protect a post or page, or to make it private, click the “Visibility” link in the Publish box and select one of the options.
Article number: KB0025630
Valid to: April 14, 2027